Patio Cover NZ: What Should You Check Before You Get a Quote?
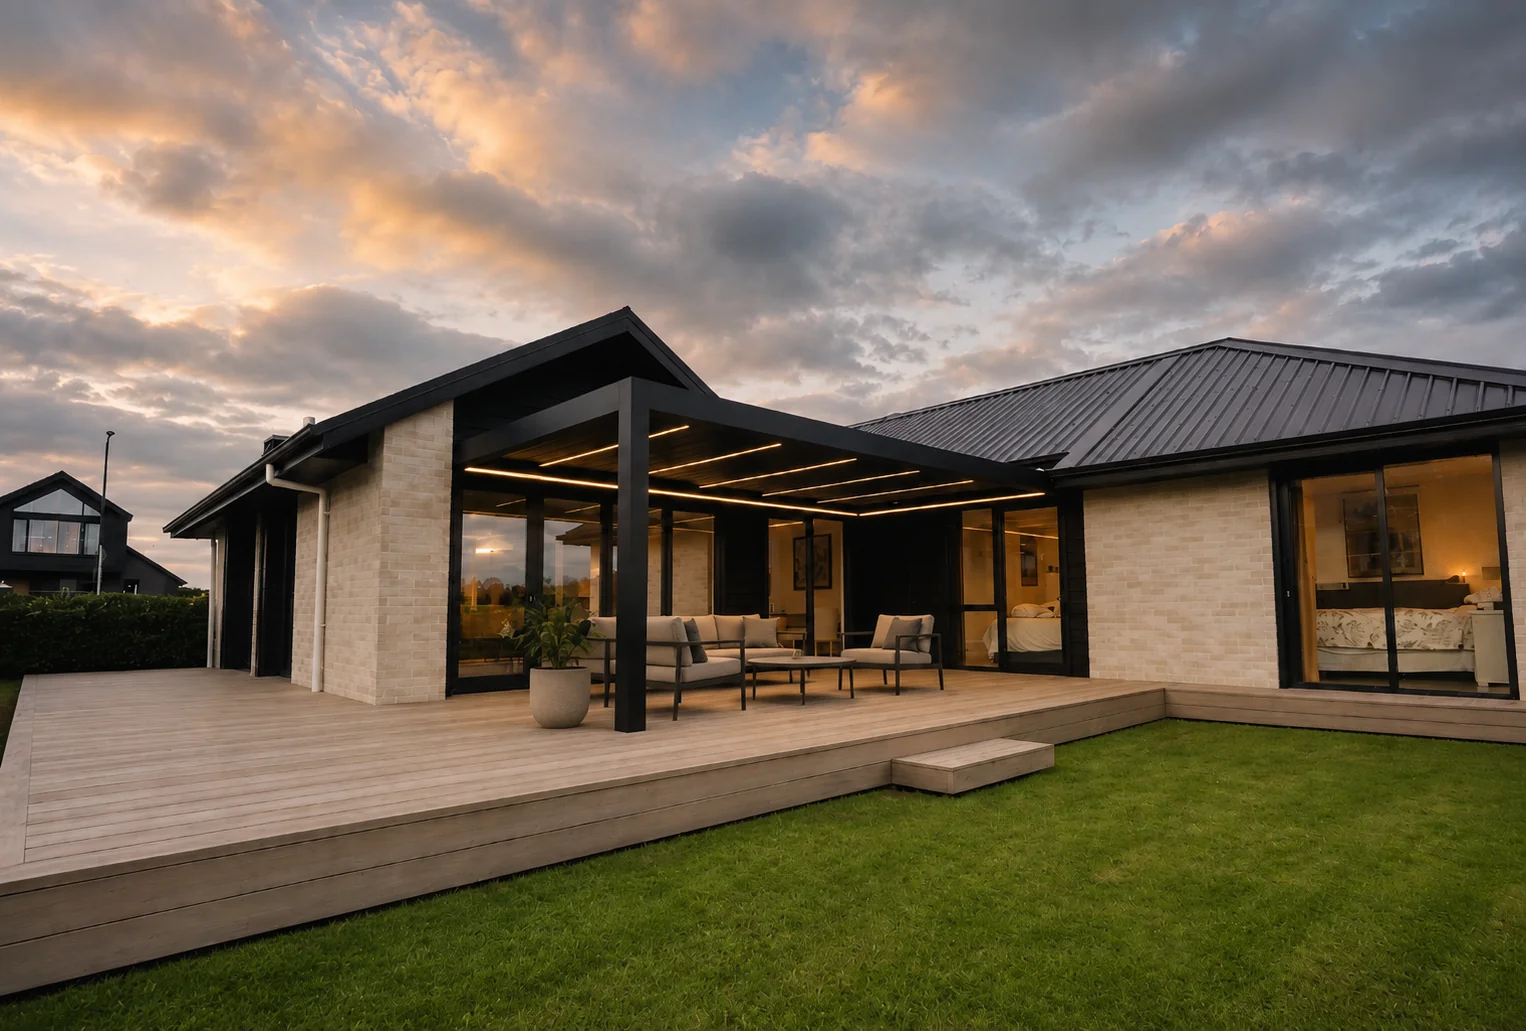
A patio cover quote is only as useful as the information behind it. The roof type, how it is fixed, where the rain goes and which sides get closed in all depend on your house, and most of that can be worked out before anyone visits.
People often choose a product first and look at the site second. This checklist works the other way round. Go through the six steps in order and you will reach the site measure knowing what the cover has to do, with photos of the wall and deck ready so the measure can confirm what they will carry, and with a list of the questions that are still open.
None of the steps needs a tape measure or a formal drawing. A phone camera, a hand drawn sketch and a few days of paying attention to the space are enough. Once your notes are done, the quote request form linked at the end of this page is the next step.
Step 1: Write Down the Job and Where the Weather Comes From
Start with the job, not the product. A cover over a barbecue area has a different job from a cover over a dining table or a spa pool.
Sun or rain first? If the problem is afternoon sun on a west facing deck, you need shade you can adjust. If rain stops you using the space from autumn onwards, you need a roof that sheds water. Plenty of Auckland homes want both, at different times of year.
How often will you be out there? Weekend lunches only, or most evenings, all year? The more you use the space, the more a roof you can adjust is worth.
What stays underneath? Lounge furniture, cushions and a spa cover all need shelter from rain. That makes a roof that closes a better fit than one that only shades.
Then look at the weather itself. It rarely comes straight down. Rain arrives at an angle, wind funnels between houses, and the sun swings round the corner of the house just when you sit down to eat.
Spend a few days watching the space at the times you would use it. Where is the sun at lunch, and where is it at dinner? Which side does the wind come from? Where does rain blow in when it is gusty?
Location changes the answers. In exposed parts of Auckland, wind is often the bigger issue. Close to the coast, salt air adds another factor, which is why our heavy duty louvre roof, Mana, uses stainless steel fittings with brass details and is built for higher wind loads.
A roof deals with what falls from above. Weather from the side is a separate job, and you will come back to it in Step 5.
Action: write one sentence that starts with "The cover needs to". Then take photos of the space from your back door at lunch time and in the early evening, and mark the wind and rain direction on a rough sketch of the area.
- Decide whether sun, rain or both is the main problem, and put the cover's job in one sentence.
- Watch the space at the times you actually use it, and note which sides take wind, rain and low sun.
- Keep the sentence and the sketch, because you will need them in Steps 2, 3 and 5.
Step 2: Choose the Roof Type That Matches the Job
Now go back to your one sentence and match it to a roof type. This guide compares five. Two stay in place and three pull back.
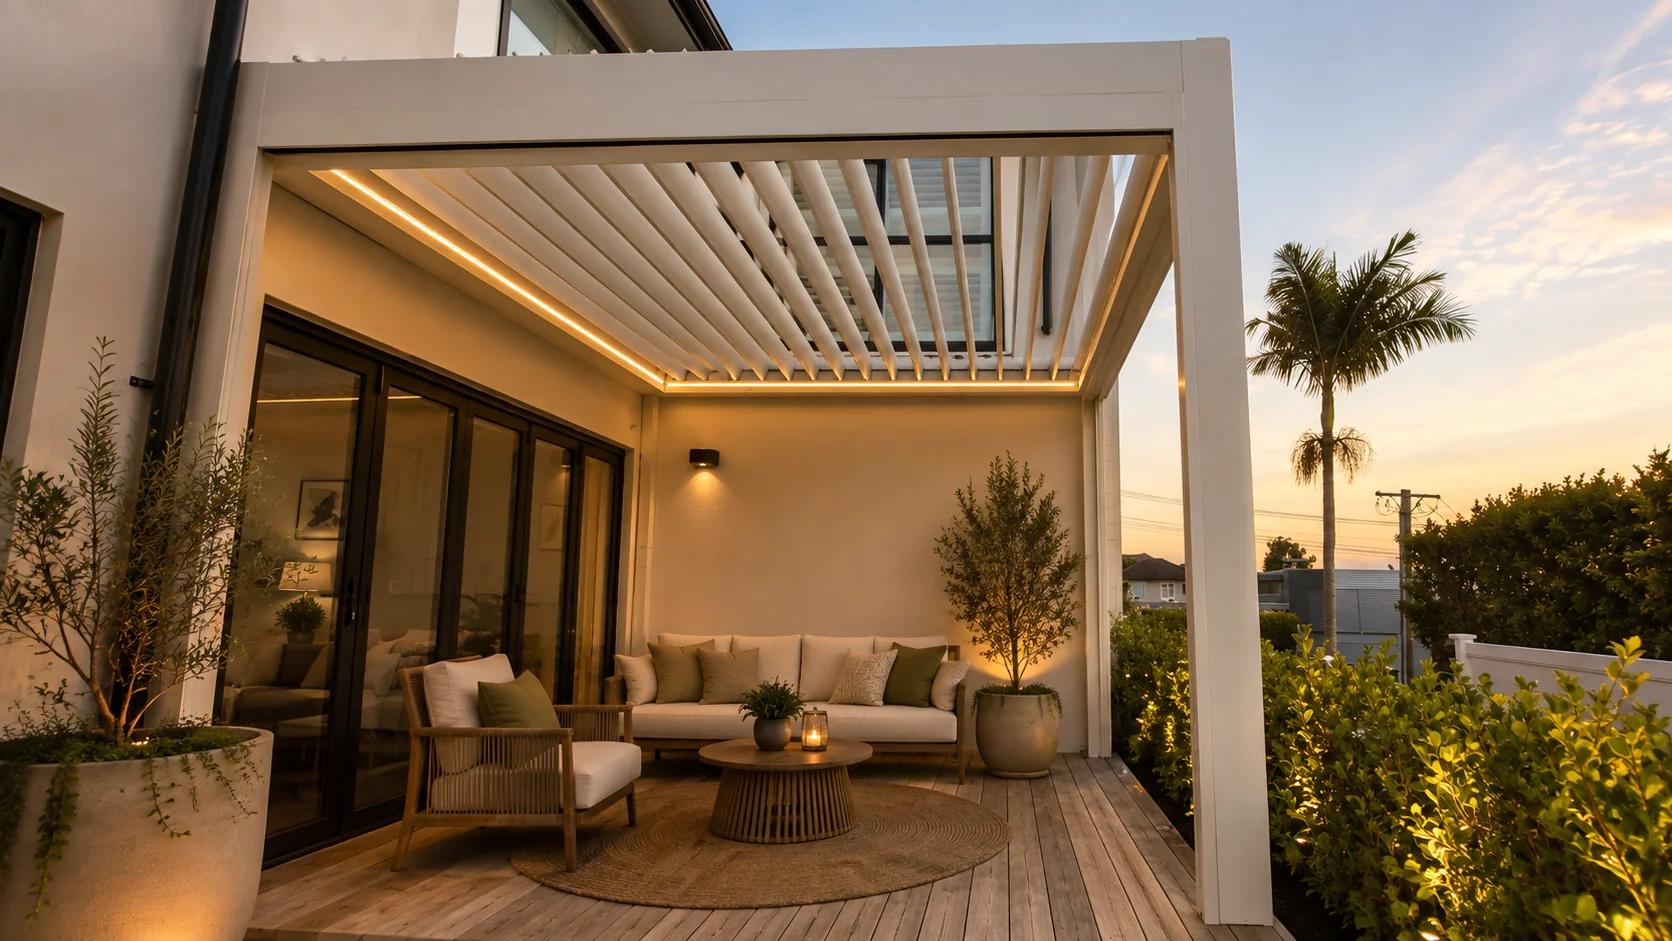
Louvre roof. Aluminium blades tilt to the position you want, letting light and air through the gaps, and close for rain. The roof structure stays in place whatever the blade position. We make two. Mana is the heavy duty option for larger spans, higher wind and coastal sites, and it is rated for wind up to 220 km/h. Toa is the standard residential and light commercial option.
Retractable louvre roof. Te Pō is a louvre roof with smart control whose blades can also be drawn back when you want more sky overhead. Like our other louvre roofs it is waterproof when closed.
Retractable patio roof. A fabric cover on an aluminium frame that you extend for shelter and pull back when you do not need it. Extended, it gives shade and rain protection overhead, with a slight pitch so water runs off the front. Our retractable patio roof page shows how it works.
Retractable awning. Rangi is an aluminium frame with a retractable fabric cover. When extended, it gives shade and keeps rain off. It suits a space where you want the cover out of the way when you are not using it. Rangi and the retractable patio roof both use fabric but are separate products, and neither is the same as Te Pō, which has blades overhead.
Fixed roof. A fixed cover gives permanent shelter with no adjustment. It is simple, but you give up control over light.
If two types both seem to fit, go back to what stays underneath and how often you are out there. A space you use most evenings with furniture left in place usually points to a roof that closes. A space you use on fine weekends may only need shade that pulls back out of the way.
You do not need a final answer yet. The measure will show what the site allows, and that sometimes rules an option in or out.
Action: pick one roof type, or a shortlist of two, that fits your sentence from Step 1. Write down why each one fits.
- Match the roof type to the job, not to a photo you liked.
- Shortlist two options at most before the measure.
- Keep your reasons for each option, because they make the first conversation quicker.
Step 3: Check What the Roof Will Attach To
A patio roof is either attached to the house or freestanding on its own posts. Your site often makes this decision for you.
If you want it attached, look at the wall. What is the cladding? Where do the eaves and existing gutters sit? Are there windows or doors in the way? The wall has to carry part of the roof, and that changes how the roof is fixed.
Think about how you move through the space as well. Which door do you use most? Where would a post be in the way of that path, or of the view from inside? Post positions are worked out at the measure, and it helps if you already know which spots you want kept clear.
Stand inside as well, at the kitchen bench or on the sofa, and look out. The roof and its posts will sit in that view every day, whether you are outside or not. If there is an outlook you want to keep, say so early, because it affects where the posts go and how the roof meets the house.
If the roof will sit on a deck, the deck is looked at early, at the site visit, before the design is settled. The spots where the posts land usually need reinforcing, so allow for that from the start. Paving and lawn areas usually need new footings.
A freestanding roof can go further from the house, over a spa or a second seating area. It brings its own posts and footings with it.
Some of this work sits outside the roof itself: concrete footings, deck reinforcement and removing an old structure. Where any of these are needed, we can help connect you with the right professionals. Consent and engineering are a separate question, covered in Step 6.
Action: photograph the wall you would attach to, including the eaves and gutter line, and the deck or paving where posts would stand. Note the cladding type.
- Decide attached or freestanding based on the site, not habit.
- Check what the wall and deck are made of, and expect the deck to need reinforcing where posts land.
- List any old structure that would need to come out first.
Step 4: Plan Where the Rain Will Go
Any roof that keeps rain off moves that water somewhere else. On a louvre roof, the blades channel rain into gutters built into the frame, then down through the posts. With any other type of cover, where the water runs off is worked out as part of the design.
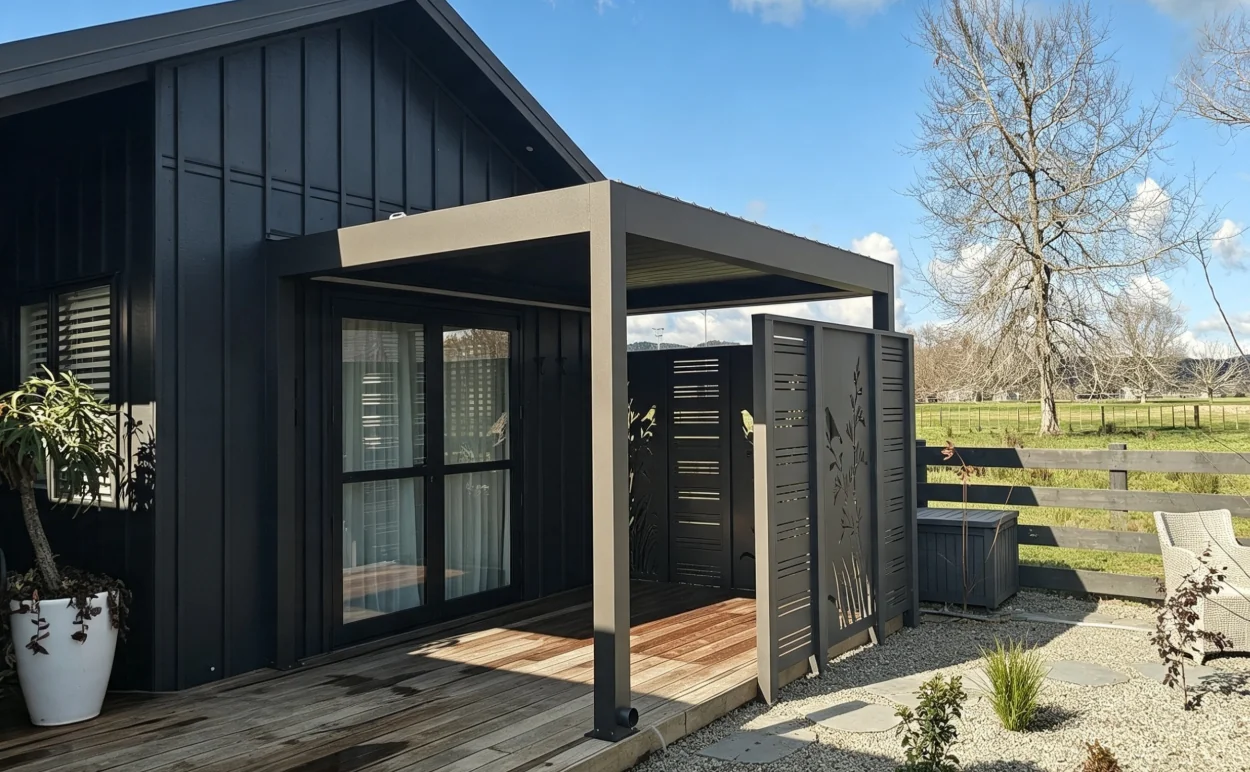
The questions are practical. Where is the nearest stormwater point? Will a downpipe end up beside your back door or across a path? Does the paving slope away from the house? Surface water is covered by the New Zealand Building Code, so drainage gets planned as part of the design, not added later.
A fabric cover works differently. On a retractable patio roof or a retractable awning, rain runs off the front edge of the extended cover, so the useful question is which edge, and what sits below it. A garden bed can take it. A path you walk along or the top of a set of steps is a poorer place for it to land.
Look at the ground around the covered area too. Rain still lands on the open paving beside the roof, and if that paving falls toward the house, some of it will run in under the cover. That is easier to deal with at the design stage than after the roof is up.
Action: walk the area in the rain if you can. Note where water already pools and where the nearest stormwater point is.
- Find the nearest stormwater point before the measure.
- Check where downpipes would land and whether that suits you.
- Watch for spots where water pools now.
Step 5: Add Side Protection Only Where You Need It
Go back to the sketch from Step 1. The sides that take wind, driving rain or low sun are the ones that may need protection. The others can usually stay open.
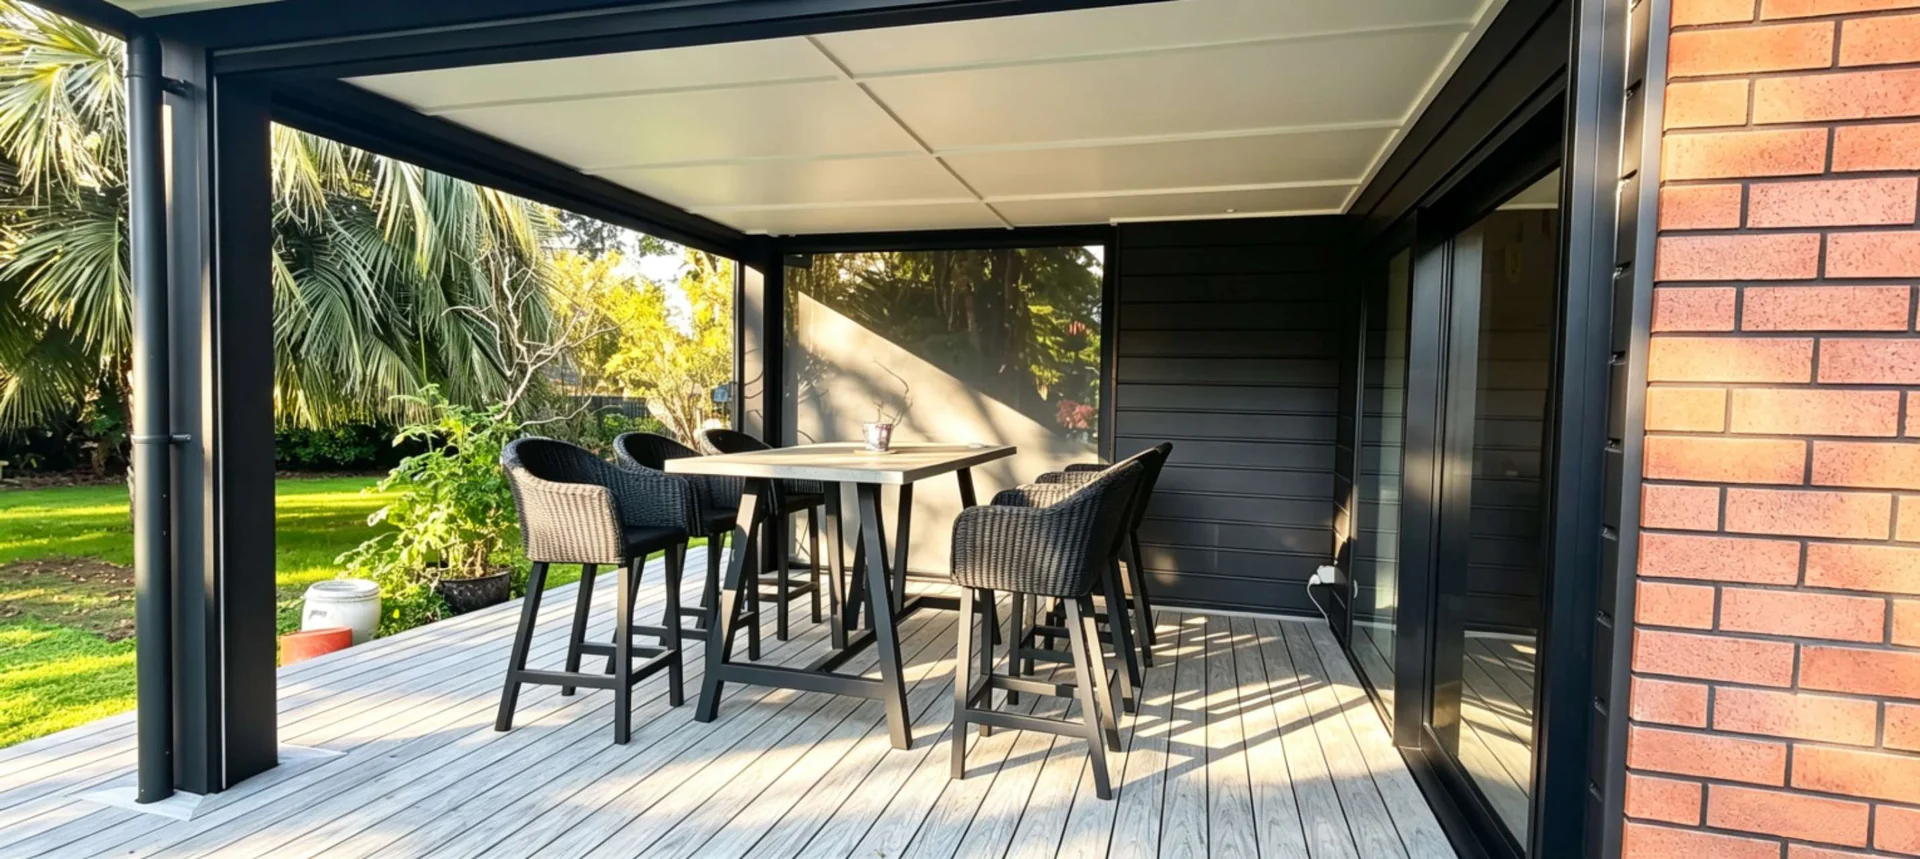
Our outdoor ZIP blinds run in side channels and drop between the posts. They are rated to 120 km/h wind and carry a 4 year warranty. They make a covered patio usable on cooler and windier days, and they give privacy from neighbours when you want it.
Low sun is the one people tend to miss. A roof shades you at midday, but late in the afternoon the sun comes in under the edge, usually from the west, and lands on whoever is sitting at that end of the table. If your early evening photos from Step 1 show that, a blind on that one side deals with it better than a bigger roof would.
Privacy is worth marking on the sketch in its own right. A side that faces a neighbour's window or a shared driveway may take no weather at all and still be the one you most want to close off. The fabric and colour are chosen for the space, so note what matters most on each side.
You do not have to enclose everything. One or two sides on the weather side are often enough. You can also plan for blinds now and add them later, as long as the roof is designed with that in mind.
Action: mark on your sketch which sides face the weather. Ask for those sides to be priced as an option, so you can see the roof cost on its own and with blinds.
- Protect the weather side first.
- Price blinds as a separate line in the quote.
- Tell us at the measure if you plan to add blinds later.
Step 6: Book a Site Measure and Compare Quotes on the Same Basis
You now have a job sentence, a weather sketch, a roof shortlist, photos of the wall and deck, and notes on drainage and sides. That is everything we need for a useful first conversation.
The measure is done at your site. It is where your notes get tested against the house: we look at the wall or the ground the roof will stand on, where the posts can go, how the water will get away and which sides you have marked for blinds. If something on your shortlist will not suit the site, this is when you find out, before anything is made.
Consent is worth raising early. Whether a patio roof needs building consent depends on the scale of the project and the site, and consent and engineering design are not required for every project. When a project does need council consent, there are extra costs, covering items such as the engineer, the designer and the council. These vary by project, so we assess each one and quote it separately. A quote that leaves consent out can look cheaper than one that includes it, when the two are not covering the same thing.
When you compare suppliers, the same checks work for any of them:
- Can you see and operate a finished system, in a showroom or at a completed project, before you commit?
- Is the system you are being quoted suited to the wind and coastal exposure at your site?
- Does the warranty say which components it covers and for how long?
- If your project needs consent, does the quote say who handles it and what it costs?
Read each quote against your notes as well as against the other quotes. Does it cover the roof type you shortlisted, the sides you marked and the drainage you talked through at the measure? Two totals are only comparable when they describe the same job.
Action: gather your notes and photos, then request a quote and a site measure. When the quotes come back, check that each one states whether consent applies to your project and what the consent costs cover.
- Bring your notes from Steps 1 to 5 to the measure.
- Compare quotes on what they include, consent and blinds as well as the total.
- See a system in person before you decide if you can.
Common Questions About Patio Covers in NZ
How much does a patio cover cost in NZ?
Every patio cover we build is made to measure, so each one is quoted individually. The price depends on the roof type, the size of the area, how it attaches, the site and any options such as blinds. A site measure is the quickest way to an accurate figure.
Do I need building consent for a patio roof?
Not always. It comes down to the size of the job and the site, so we look at it for each project. For general guidance on what building work needs consent, see the government's building.govt.nz site or contact your local council.
How long does an aluminium patio cover last?
It depends mostly on the site and the care the cover gets. Salt air near the coast and how often the frame and blades are washed down both make a difference, so we do not put a single number of years on it. The warranty runs from 2 to 10 years depending on the component, and when you compare quotes it is worth checking which components each warranty covers and for how long.
Will a patio roof keep the rain out?
Our louvre roofs are waterproof when closed. The rain runs into gutters in the frame and down through the posts, so drainage is planned as part of the design. A retractable patio roof gives rain protection overhead when the cover is extended, and Rangi, the retractable awning, keeps rain off the area in the same way.
Each Louvresky patio cover is made to order for one space, so an accurate price starts with a site measure. If you want it in use this summer, start now, while there is time to compare quotes before the first hot weekend. We are based in Auckland and work across New Zealand. When your notes are ready, request your patio cover quote and we will get in touch to arrange the measure.